Saturday, November 2, 2013

The great stacked leather heel experiment.

A client requires heels on her dancing shoes. So I attempted some low heels as an experiment. Spoiler: this is a mostly failed experiment.


The first thing I did after making the uppers was to ruin them. As I was ironing the finished upper, it belched out hot water and caused the dye in the interlining to bleed all into the white silk. I had to almost start over again.

Once I got over that, I attached the sole as I would to any turnshoe, it was time to stack the heels. I cut out 6 layers per heel. The top two layers are hollowed out in the middle to make a cup for the ball of the foot.


I hammered them to harden the leather.

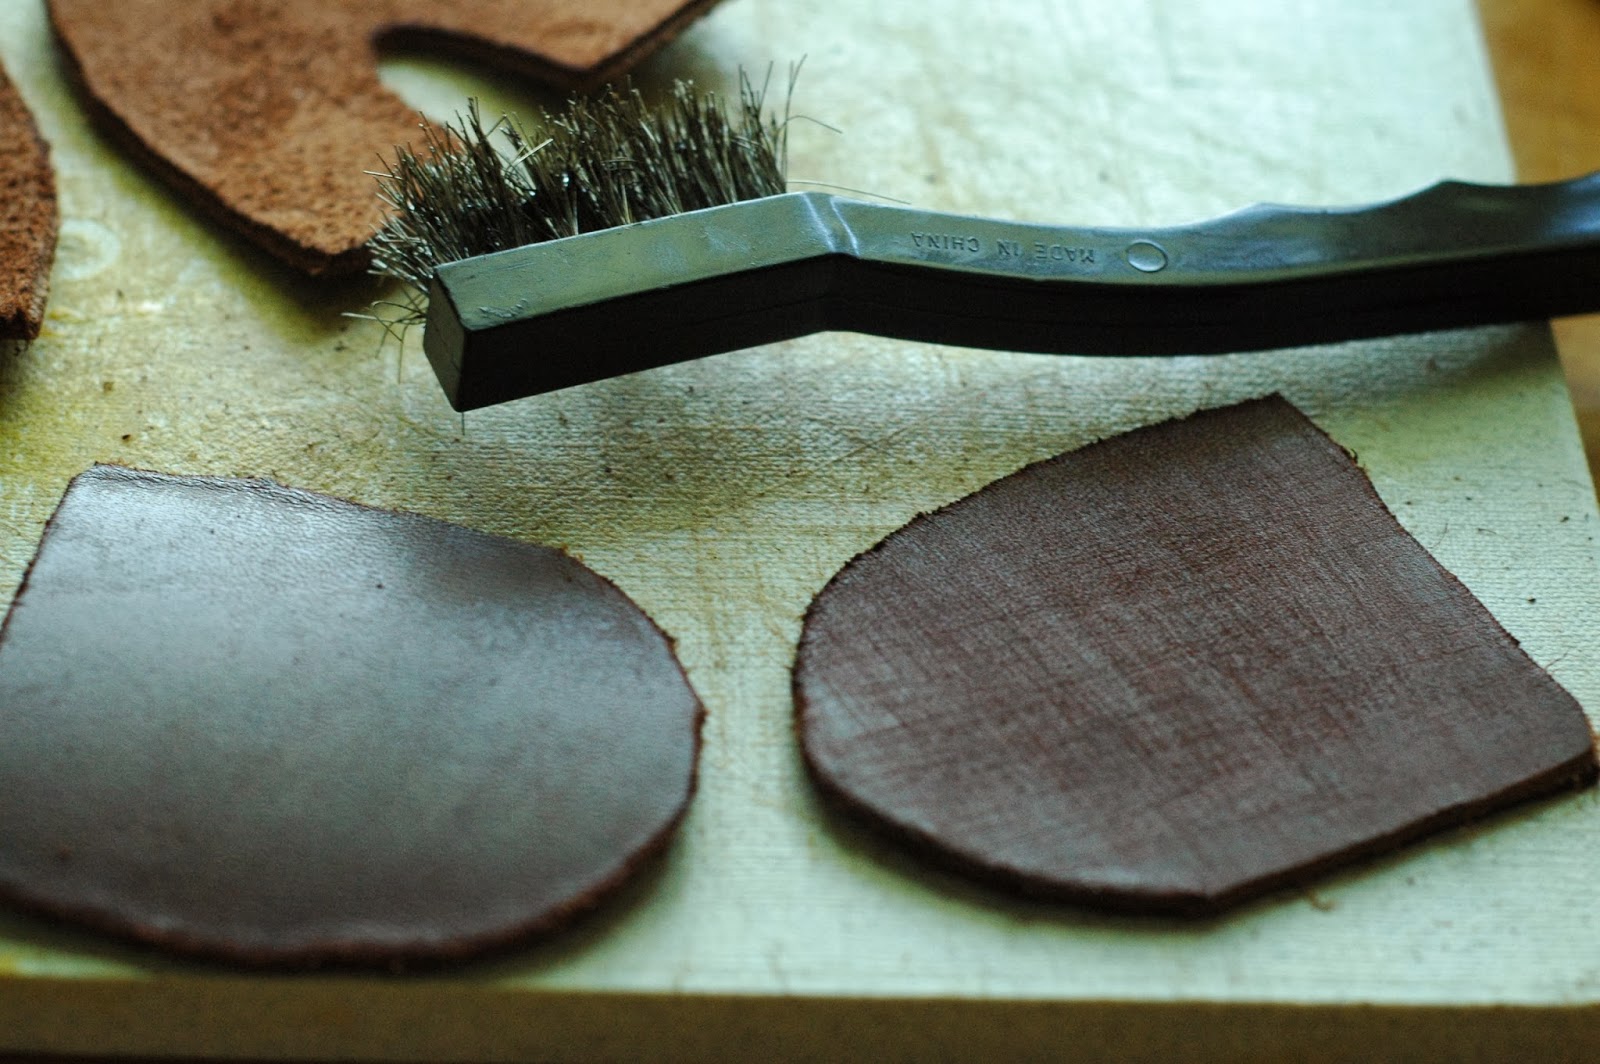
Then I scratched them with a wire brush to make the glue adhere better.


After they were glued, I carved down the sides. I got them fairly nice and smooth, burnished the edges, and then realized they were totally the wrong shape. These are for a lady's dancing shoe, not for a men's boot.
So I cut them down again. Then I burnished the edges with soap and wax. They are nowhere near as smooth as I would like, but I have many ideas of how to do it better next time.
They were attached using tiny, tiny nails and more glue.


The next step is to harden the arch with a hammered leather shank and add cork cushioning under the ball of the foot. I'm not sure I left enough room in the shoe for for this added thickness, so they might not fit by the time I finish. The silk and the slipper shape is extremely unforgiving in terms of fit. It is so much easier to make the boot shape or to work with wool. But that's why I made this experimental pair -- to find things out.


The Victorian Heel Connundrum

Turnshoes of the homemade quality.

​​
Turnshoes are so simple. They are so easy. They require no skills beyond basic sewing, and that's great! I love making turnshoes!


Add a heel and now you're a cobbler. Or are you?

Is it as simple as adding a heel to a turnshoe? Well, there is evidence that this was done, but you really shouldn't.

Without something rigid in the arch, it is like standing on a lego in a ballet shoe. Not nice. The shoe collapses like a bad bridge as the heel heads one way and your toes head another.. The slideshow to the left shows some un-balanced, un-reinforced shoes that appear to be turnshoes with a heel nailed on.

Even today, ballroom dancing will tell you that if your shoe heels get crooked, it is because you weren't on the balls of your feet enough. But I don't think I can tell my customers to just walk tippy-toe to make their shoes last.

Arch support
​​
Steel shanks were exhibited in 1851, but I doubt they were in widespread use until they were patented in the 1870s. So I'm not sure how some of these shoes hold up their arches.


Some of them have French heels reminiscent of the 18th century styles, which provide arch support. To make these, I need to figure out how to carve two identical heels of very complicated shape. Traditionally they are held on by the fabric covering, rather than nailed on. Then I have to learn the infamous "white seam" where stitches up to 60 per inch were done. These are going to take some time to learn.


Some of them have small wooden heels, well placed and therefore quite contoured with beautiful curves, and also nice high arches. These are the shoes I am interested in. I have a couple theories -- wooden shanks or hardened leather shanks -- but what was their secret?